I don’t know about you, but my day mostly revolves around what meal I’m eating next. While before the pandemic, I might have been bringing a boring bagged lunch to work or ordering something quick from the deli across from my office, I’m now cooking all my meals throughout the day at home. I know I’m not the only one!
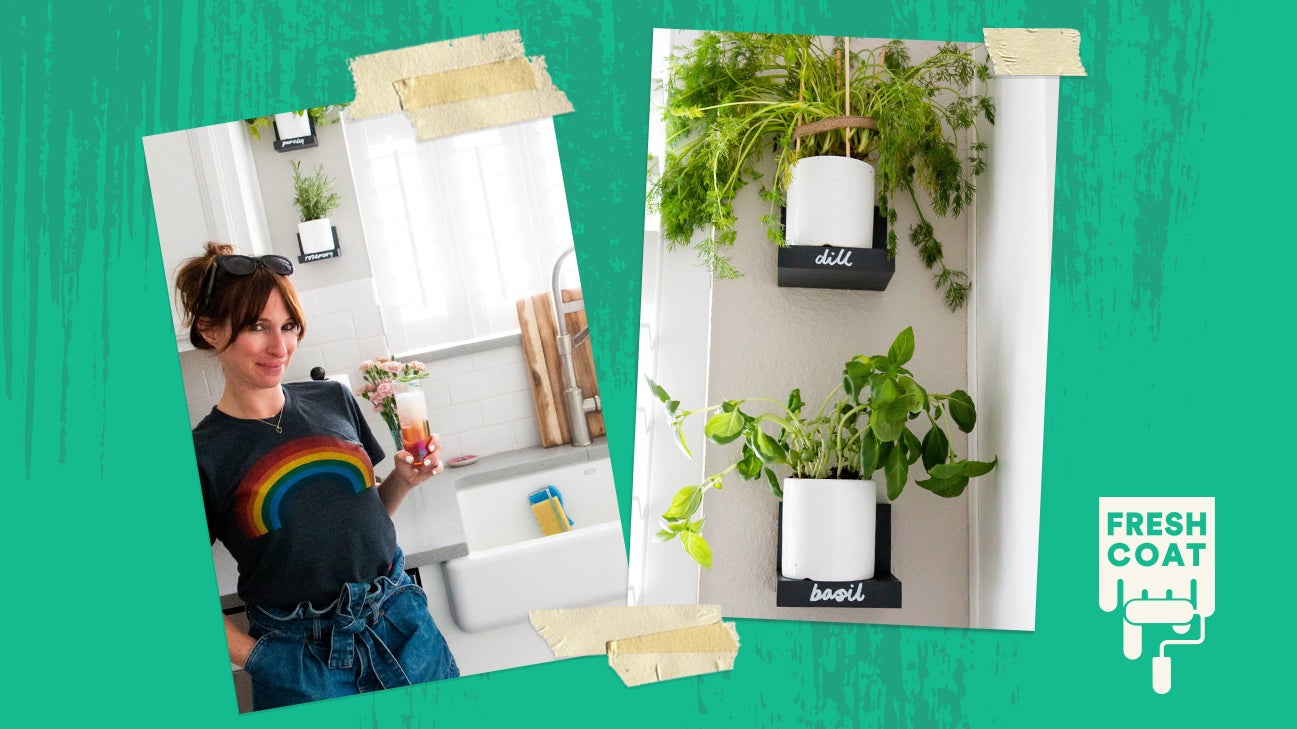
I recently visited a coworker of mine (Seri of Little Miss Party), who is now working from home, managing her kids school schedules and activities, and of course, spending time in the kitchen cooking lots of meals. Her kitchen is beautiful and flooded with light. I asked her, “do you cook with fresh herbs?” When she said she did, a light bulb went off.
I asked her if she’d be willing to let me install some potted herbs right above her sink and next to a beautiful, big window. She was thrilled with the idea. The thought of being able to pull fresh basil for fresh caprese salads, rosemary for roasted chicken, or dill for yogurt dips was so appetizing.
The great thing about herbs is they’re pretty low maintenance and when they’re right in front of your face, it’s much easier to remember to water them! We set out to Trader Joe’s for some cheap herbs after ordering a couple of simple supplies from Amazon. This DIY could not get any simpler.
How to create your living herb wall
- Choose your favorite herbs. What herbs do you actually love to cook with on a regular basis? It’s important to choose the ones you’ll love to use regularly.
- Think about where you want to place the plants. I love the idea of having the herbs at my disposal in the kitchen but you really need lots of sunlight to make it work. Make sure you have a spot near a window for optimal sun!
- Seek out mini pots and shelves. I found mine on Amazon to fit the space I had. If you have more room for a floating shelf and larger pots, I highly recommend it. Herbs will go wild if they have space to grow!
- Buy a sharpie or paint pen so you can label your plant shelves! I think it looks cute aesthetically but also helps identify each herb.
How I did it
These 4 easy steps will have your herbs hovering in no time.
1. Relocate your herbs
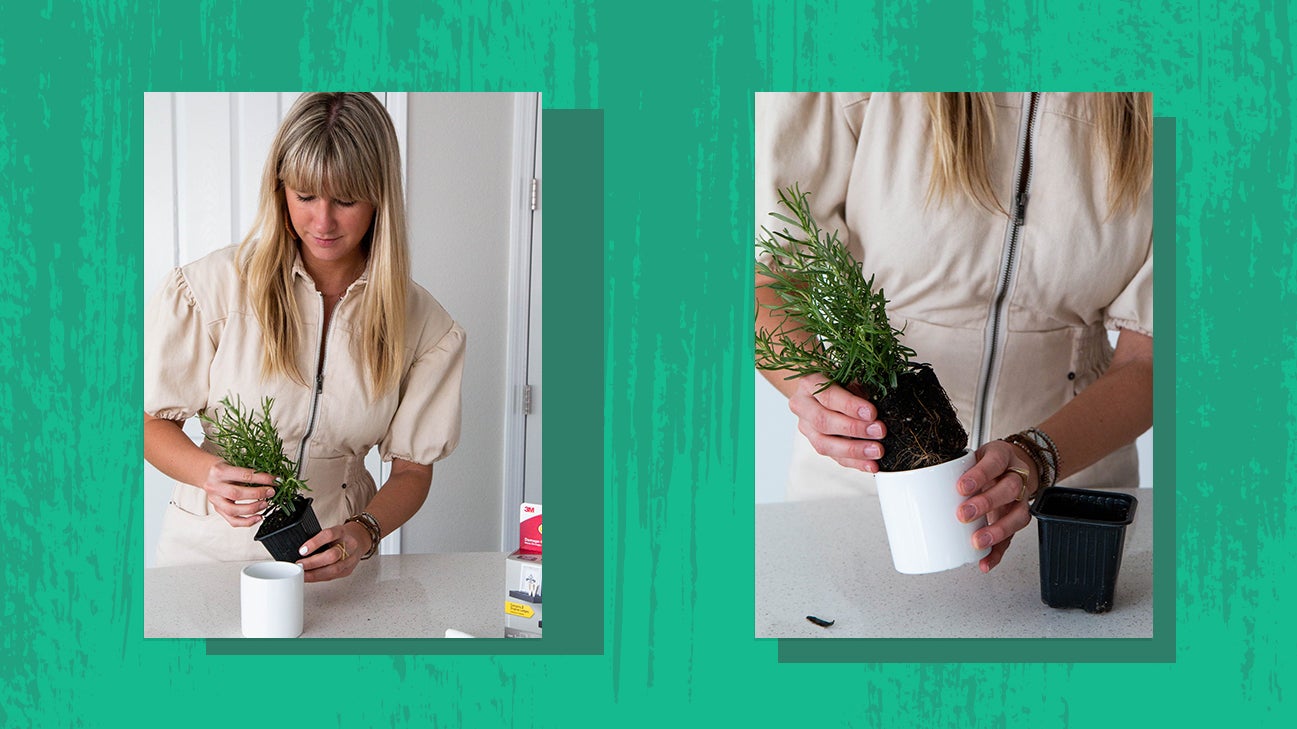
Take out your shelves, pots, herbs, and marker. Then, remove the herbs from the store-bought plastic pot and replant in your ceramic pots.
2. Label your shelves
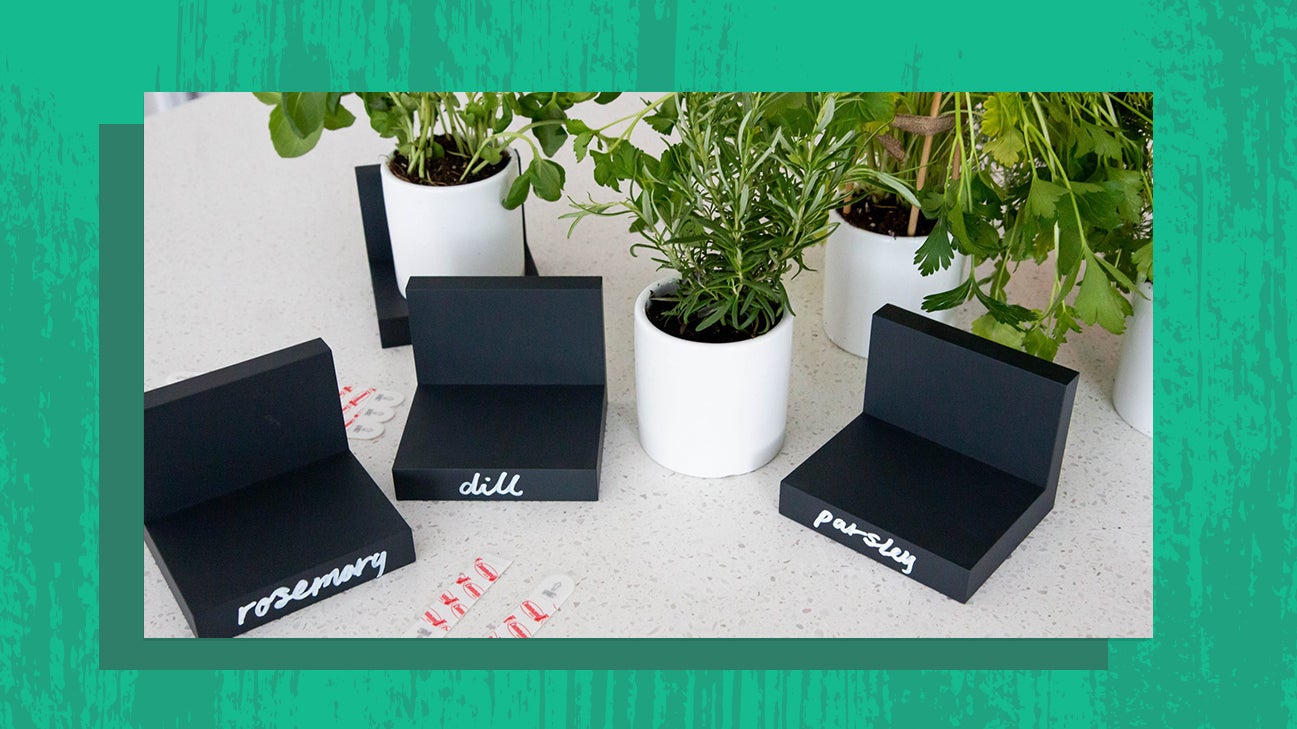
If you’re confident in your handwriting abilities and not totally sure on your herb varieties, label the front, flat surface of your shelves with a marker.
This is optional, of course. You can label your shelves any way you like, or just go with a clean look.
3. Hang your shelves
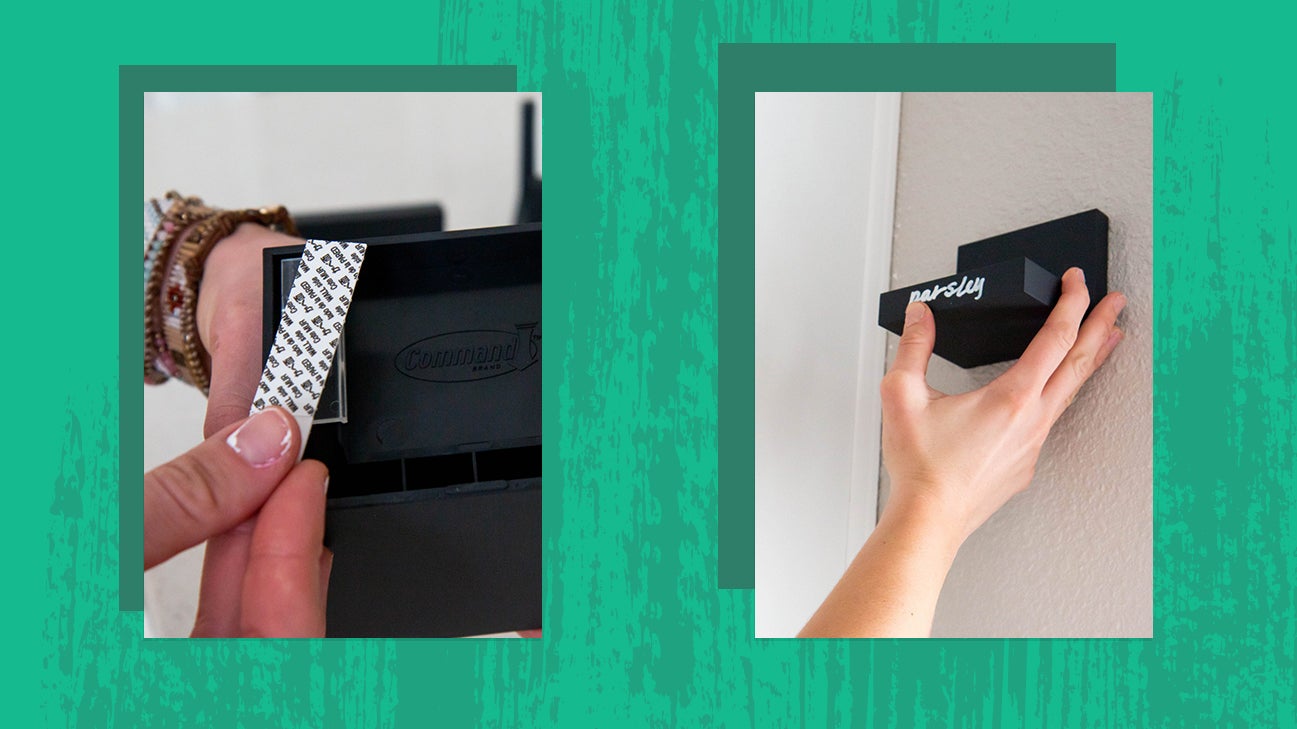
Get your shelves up on the wall in the spot near the window. If you’re using the same Mini 3M Command shelves I used, be sure to clean off the wall, apply the adhesive, press the shelf firmly against the wall, and leave to set for an hour.
4. Enjoy
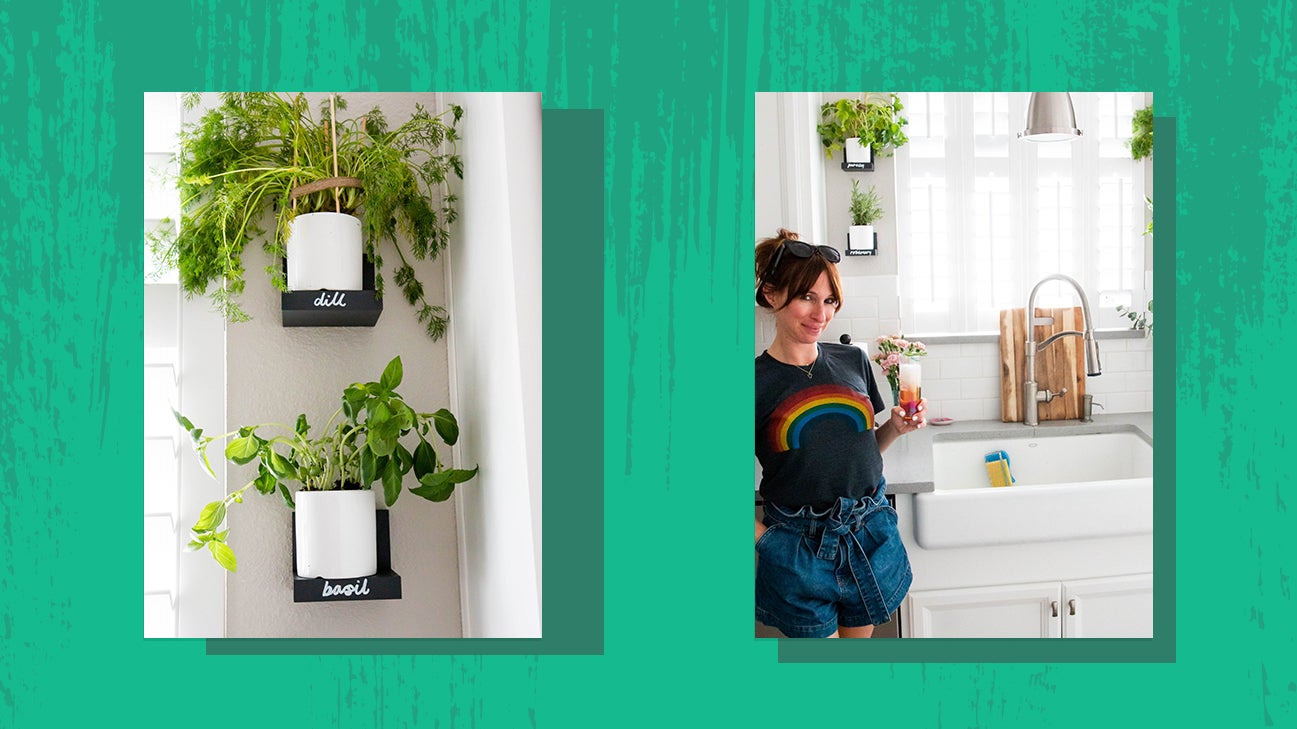
Finally, place your herbs on their respective shelves and enjoy!
The supplies I used
- Command Display Ledges
- paint marker
- mini pots
- herbs from your local market
Maggie Antalek is an interior decor consultant and artist based in New York City. Her newest creative endeavor is her affordable interior consulting business, Nestia, which strives to make home design accessible to everyone. Follow her on Instagram (@nestiahome) or visit her website for more info at www.nestiahome.com.

0 Commentaires